

They were easy to make and I used scraps I had. Now, Mine are all different because I used scraps but if you want ALL of yours identical: I have a TRICK for you to make it go by super fast and EASY...So read EVERY step before starting.
Step 1
Take an old stocking and trace it onto poster board leaving about a 1/2in. between the stocking and outline.


Step 2:
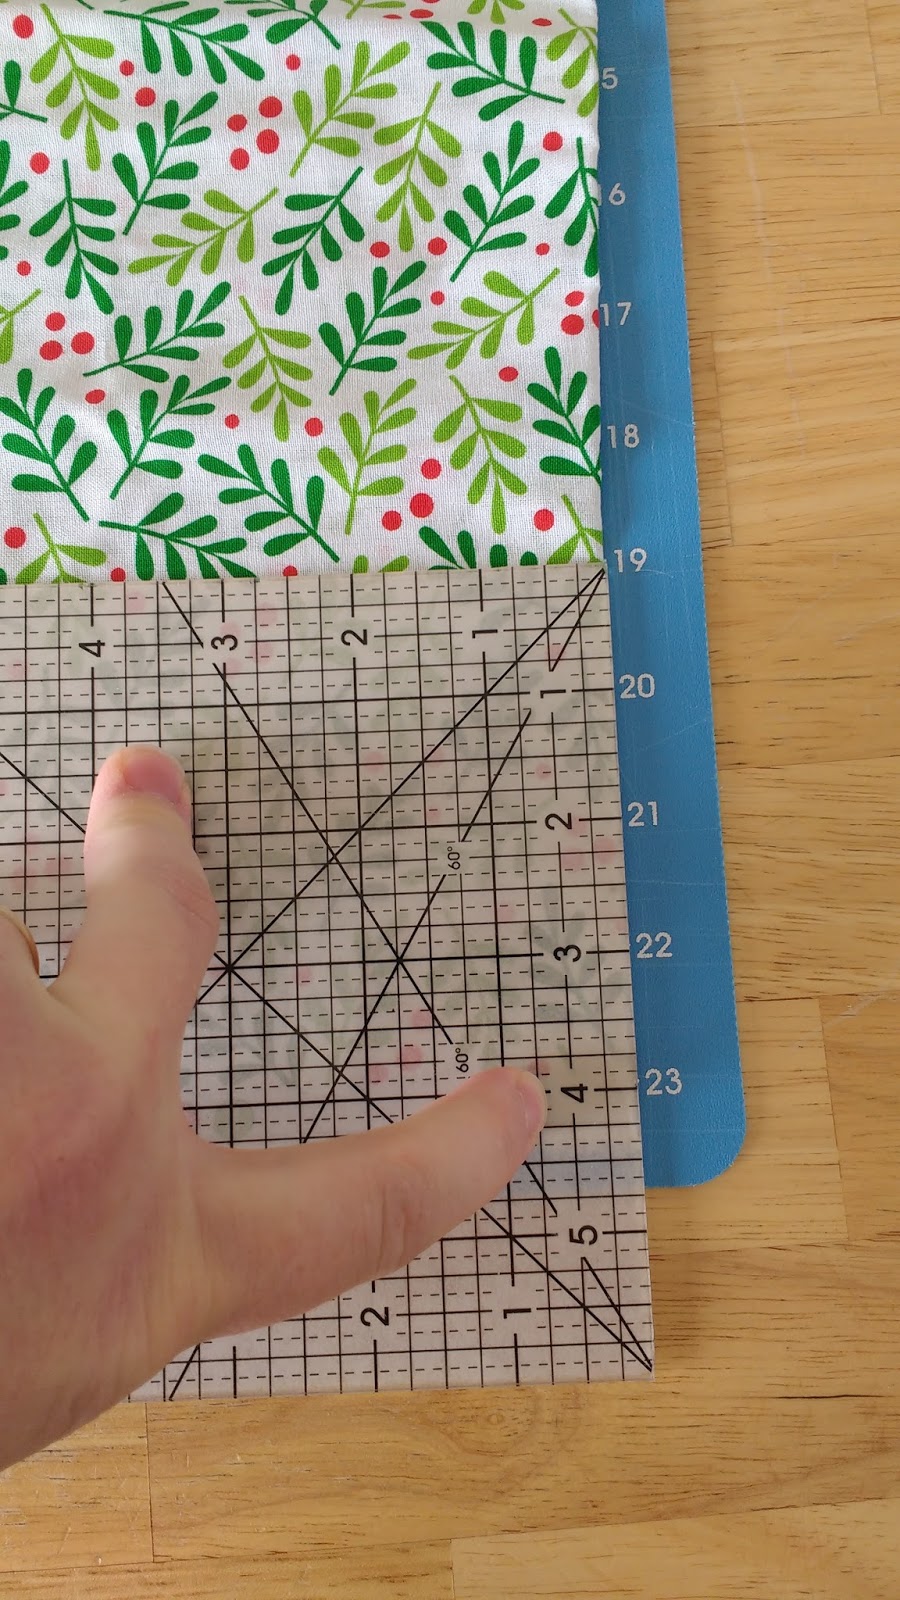
Take Your scrap material and make sure the WHOLE matterial fits the stocking pattern. This will ensure that the strips you cut will fit the stocking without tons of moving around.


Step 3:
FIRST: If you want them ALL Identical...DO NOT cut just yet. You went and bought material but instead of cutting them for each individual stocking just cut long 4in. strips and sew them together...like you are making a big stripe blanket. Then you take the stocking pattern place it on the sewn material and cut around it and move over a little bit and cut another one. It saves SOO much time and effort. (I hope that makes sense. I drew picture to try and explain.

BUT if you just have scraps: THEN, Cut into 4 in. Strips. Do STEPS 1-3 with all your scraps.

Step 4. IRON. Seriously....Iron those strips of material! It will make it look super nice and ENSURE that the pieces fit together. It also makes sewing them together easier


Step 5: Make your Patterns (For ALL of the stockings). Each stocking will have 5 strips of material. The reason you do all of them is so that you know what material is being used for which and what you have left over. This is so that you can use all scraps and it's easier to rearrange ahead of time instead of sewing and making them as you go and realizing you don't have enough of one color.

Step 6:
Cut out 2 white stockings for each ONE patterned stocking. This will be your lining/back of the stocking

Step7:
Now for the sewing! Once you have all your patterns arranged it's time to sew them together. Now...Here's a TRICK: Make sure when you sew that one side has ALL the stripes lined up; as shown in the picture. (This makes it so that even if they are different lengths on the other side...it will still fit your stocking pattern)


Step 8:
Cut out your stocking


Step 9:
Place the white cut out stocking in front and one in back. Line them up as close as you can.


Step 10:
Sew around the edges...DO NOT sew the top of the stocking where the opening is going to be.

Step 11:
Flip it inside out. Now here's the tricky part. The front of the stocking is going to have a lining too. So grab the front and the lining in one hand and the other white stocking in the other and flip it. If you see the seams from the patterns...DON'T worry...Just try again, but grab the OTHER white stocking with the patterned stocking and flip....it should look like this:


Step 12:
The top may not be even so cut it until all the material is lined up with one another...it shouldn't be a lot of material.


Step 13:
Fold the top in and pin... Don't forget the pattern also has a white back...so don't pin the two white stockings together.

Step 14:
Cut a 6in. piece of ribbon and pin it to the stocking


Step 15:
Sew the top all the way around; take out those pins...and You are DONE!

Merry Christmas, from my house to yours!
Amy
No comments:
Post a Comment